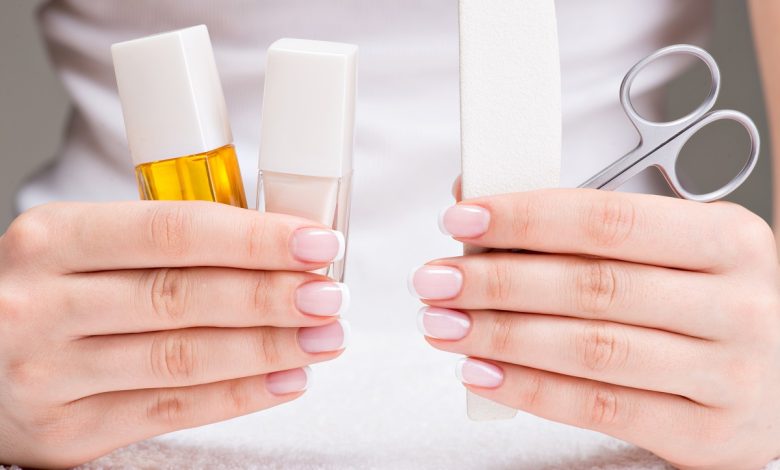
The best manicure gel removal tutorial at home+ photos and steps

manicure gel removal tutorial: Whether the polish is starting to chip or you’re sick of the color, sometimes you must get rid of your manicure.
But if you got gel nails, taking it off is a little more intensive than wiping with some remover and a cotton ball.
Ensure you have all the right tools and trying to be patient and gentle in the process, though. You may have to repeat some of the steps mentioned below so you don’t force or pry the polish off, potentially hurting your nails in the process.
Stay with this section of makeup and beauty in the health and beauty section of Eternal Pen magazine.
manicure gel removal tutorial
1. File off the top coat

manicure gel removal tutorial: The first step to removing a gel manicure at home is carefully filing off the shiny seal of the topcoat.
You know you’ve removed enough when the color is dull. You should use 100/180 grit nail files, which are rough enough without being too harsh.
Read more: Flower nail design that is perfect for spring+photo
2. Lather on the cuticle oil…
After scratching down the topcoat, generously apply cuticle oil. Put it around the cuticle only, not the nail bed. Rub upwards towards knuckles.
3. …or some Vaseline or Aquaphor

manicure gel removal tutorial: If you want to be extra careful with your skin, to use Aquaphor or Vaseline around your cuticles and the skin around your nails to not only hydrate but also create a barrier between your skin and acetone.
4. Foil-wrap cotton balls dipped in pure acetone

manicure gel removal tutorial: After you prep your nails with oils, it’s time for pure acetone.
Soak a cotton ball in acetone and place it directly on the nail. Then, wrap the nail with a small square (4×4) of aluminum foil to hold the cotton ball in place and sit for 15-30 minutes. To speed up the process, put a hot towel over your fingers.
This is the step for which you want to be the most patient. After the first 15-30 minutes, press down, slide the cotton ball and foil off and check to see if you need to rewrap your nails.
If there’s still a lot of polish, or if it doesn’t seem to be easily flaking off, you’ll want to re-wrap. (Note that while acetone is safe to use at home, you should keep it out of reach of pets and children and be careful not to spill or ingest it.)
5. Gently push the rest of the polish off with sticks
manicure gel removal tutorial: After fully soaking and wrapping the nails, the rest of the polish should come off. We recommend using orange wood cuticle pusher stickers to gently remove the remainder.
6. Give your naked nails a little buff

After all the gel polish is gone, we recommend giving your nails a gentle buff and then putting more cuticle oil onto the nailbed.
The key to keeping your nails strong and healthy is to apply cuticle oil often after removal. This will prevent nail brittleness and helps keep the flexibility of the nails to prevent breakage.
7. Make sure your hands and nails are hydrated
To keep your hands feeling good, we recommend putting hand cream on your nails and hands to keep them moisturized.
8. Or grab a handy kit

manicure gel removal tutorial: To really make the process especially easy, you can find gel removal kits online, but you’ll want to make sure they have all the tools you need and they likely won’t come with acetone. This set includes 10 nail clips, an empty nail polish remover pump bottle, 500 cotton pads, a 100/180 grit nail file, a 1000/4000 grit nail buffer, a nail brush, and two stainless steel remover tools.
Read more:
Eva Mendes’ Expensive Ring: $10,000 Emerald Design+Photos
Washing your face for beautiful skin: Should you wash your face every night?!
5 makeup tips for facial wrinkles: how to hide facial lines?


